.jpg)
In the original concept drawing, the crown mould was going to incorporate a big scotia profile. This concaved moulding would reflect the curved ends on the top of the original door architraves in the house, which would give the profile a 60mm radius. However as I built the cabinets and lived with them, I was thinking about creating a more classic art deco feature as the crowning glory of what will be a stunning feature in the living room. So I emailed Norelle (my client) and suggested a change.

The process for making the crown moulding.
1. The primary material was prepared. Lengths of jarrah machined to 70mm x 22mm in section.
2. The grooves were cut, ready to house the square beads. The waste was removed first over the table saw, and then cleaned out to accurate size with a slot cutter in the router.
3. Mitres were cut ready for making the curved corners, which will have an external radius of 62mm.
 |
| Extending the grooves to house the joining splines. The saw tangent is about 45 degrees. |
 |
| The seven pieces made ready for glueing up with their splines. |
 |
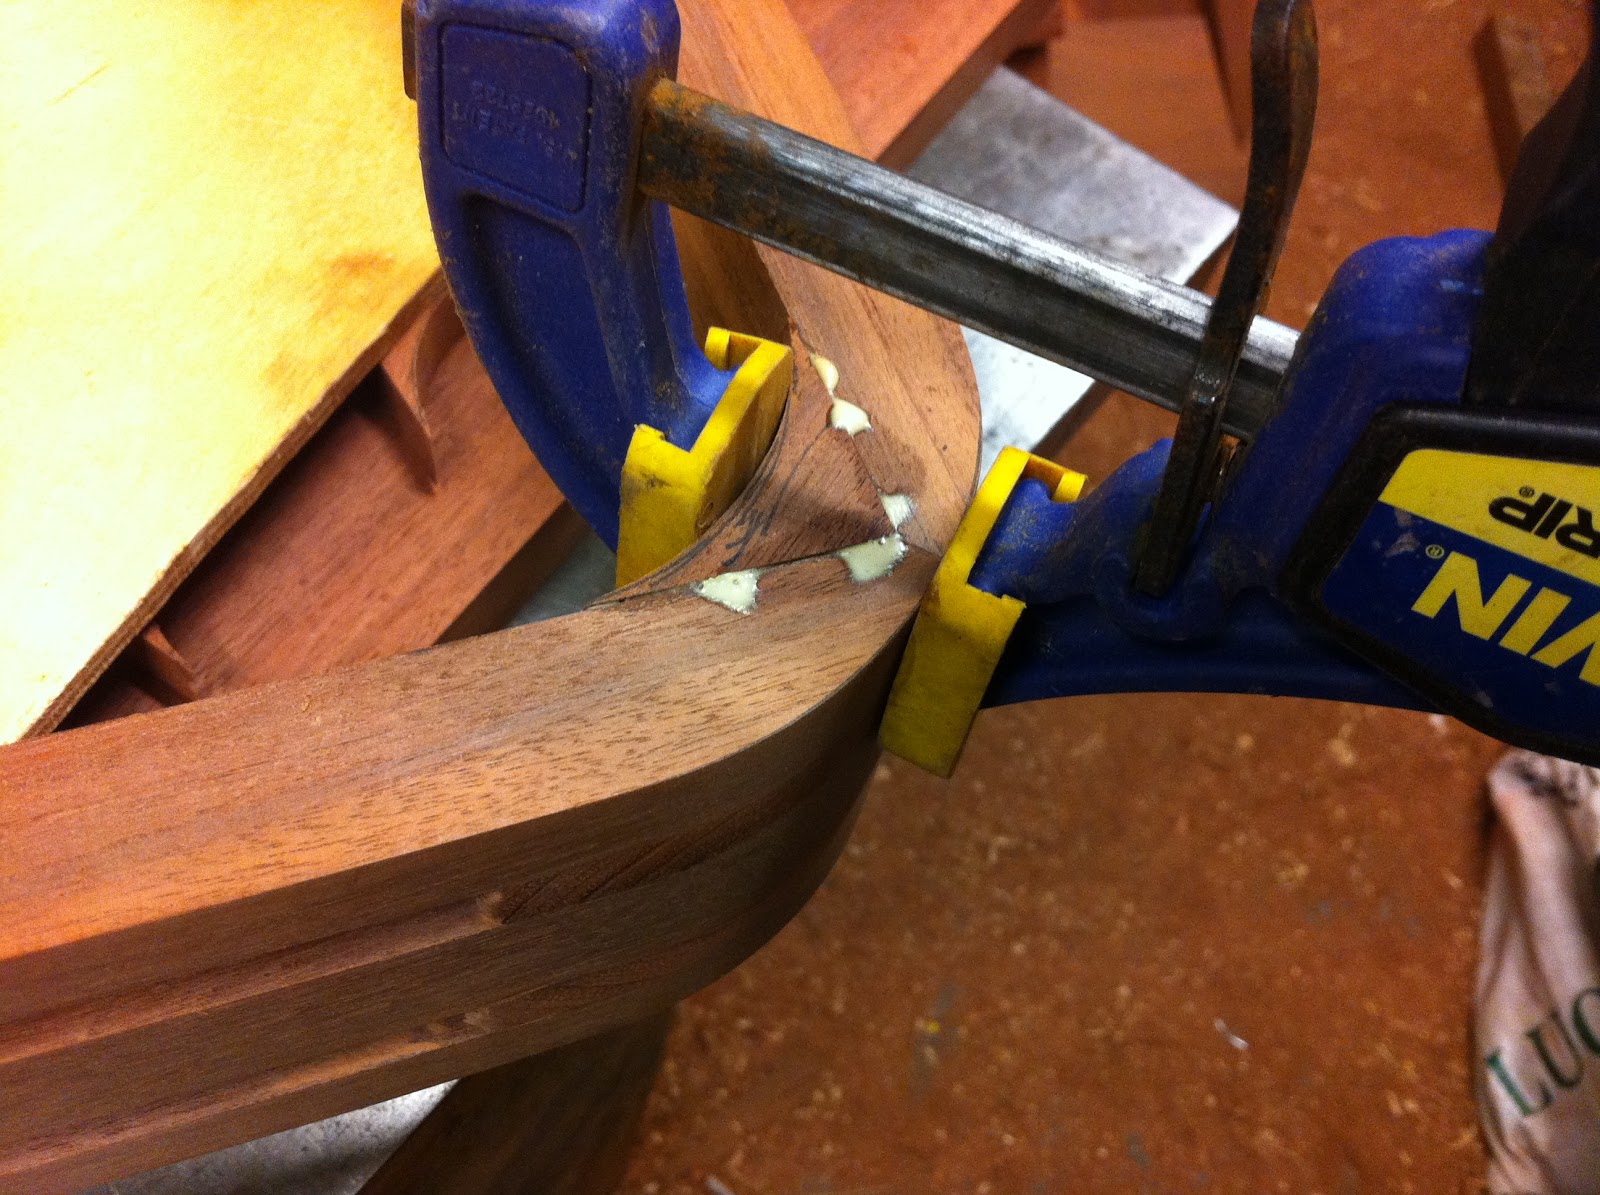
| One of the joints glued up, with the splines a nice snug fit. |
 |
| The outer curve has been shaped using bandsaw and bobbin sander. |
 |
| Making the infills for the lower corner curves. |
 |
| Glueing an infill into place to create the inside curve. |
 |
| Grooves extended around the external curve by routing out the residual spline material. |
9. The straight square beads were machined up, at 9.5mm (3/8") thick to match the width of the grooves, by 17mm (+5/8") wide, which will result in a 7mm projection once they are glued into the grooves.
10. The corner curved square section beads were made, with a 52mm inside radius and a 70mm outer radius. Eight of theses needed to be made, as there are 4 corners.
 |
| Marking out and making the corner beads. |
11. Firstly the corner curves were glued into position, then the long straight bead sections were cut to length and glued into position. With the glue dry, the corners beads were then cleaned up on the bobbin sander. The three crown mould sections will come together with the bead "fingers" on the sides inserting into the gaps on the centre sections. All done with careful planning, measuring and marking.
 |
| One end of the centre crown mould section. |
12. After cleaning up any excess glue with scrapers, each section got the fine abrasive paper treatment.
13. The first coat of polish went on, with the second coat being applied the next day.
 |
| First coat drying. Lookin' good! |
With each of the three sections cleaned up and wearing their first coat, I was pretty happy.
 |
| Now there's a nice bunch of crown moulding. |
As total completion of the job draws nearer, I am looking forward to putting it all together. I reckon this crown mould will really finish off the whole piece, and help establish the bookcase's sense of time and place in the living room of Norelle's home.
Stay tuned for the next post on this extended saga... installation day!