It all starts with an idea, a concept - and a need.
My customer had been pouring through magazines and the internet over many months, gathering up ideas for her new kitchen. She drew up a concept drawing, and we bounced around the ideas, construction implications, proportions, materials, and other practical matters.
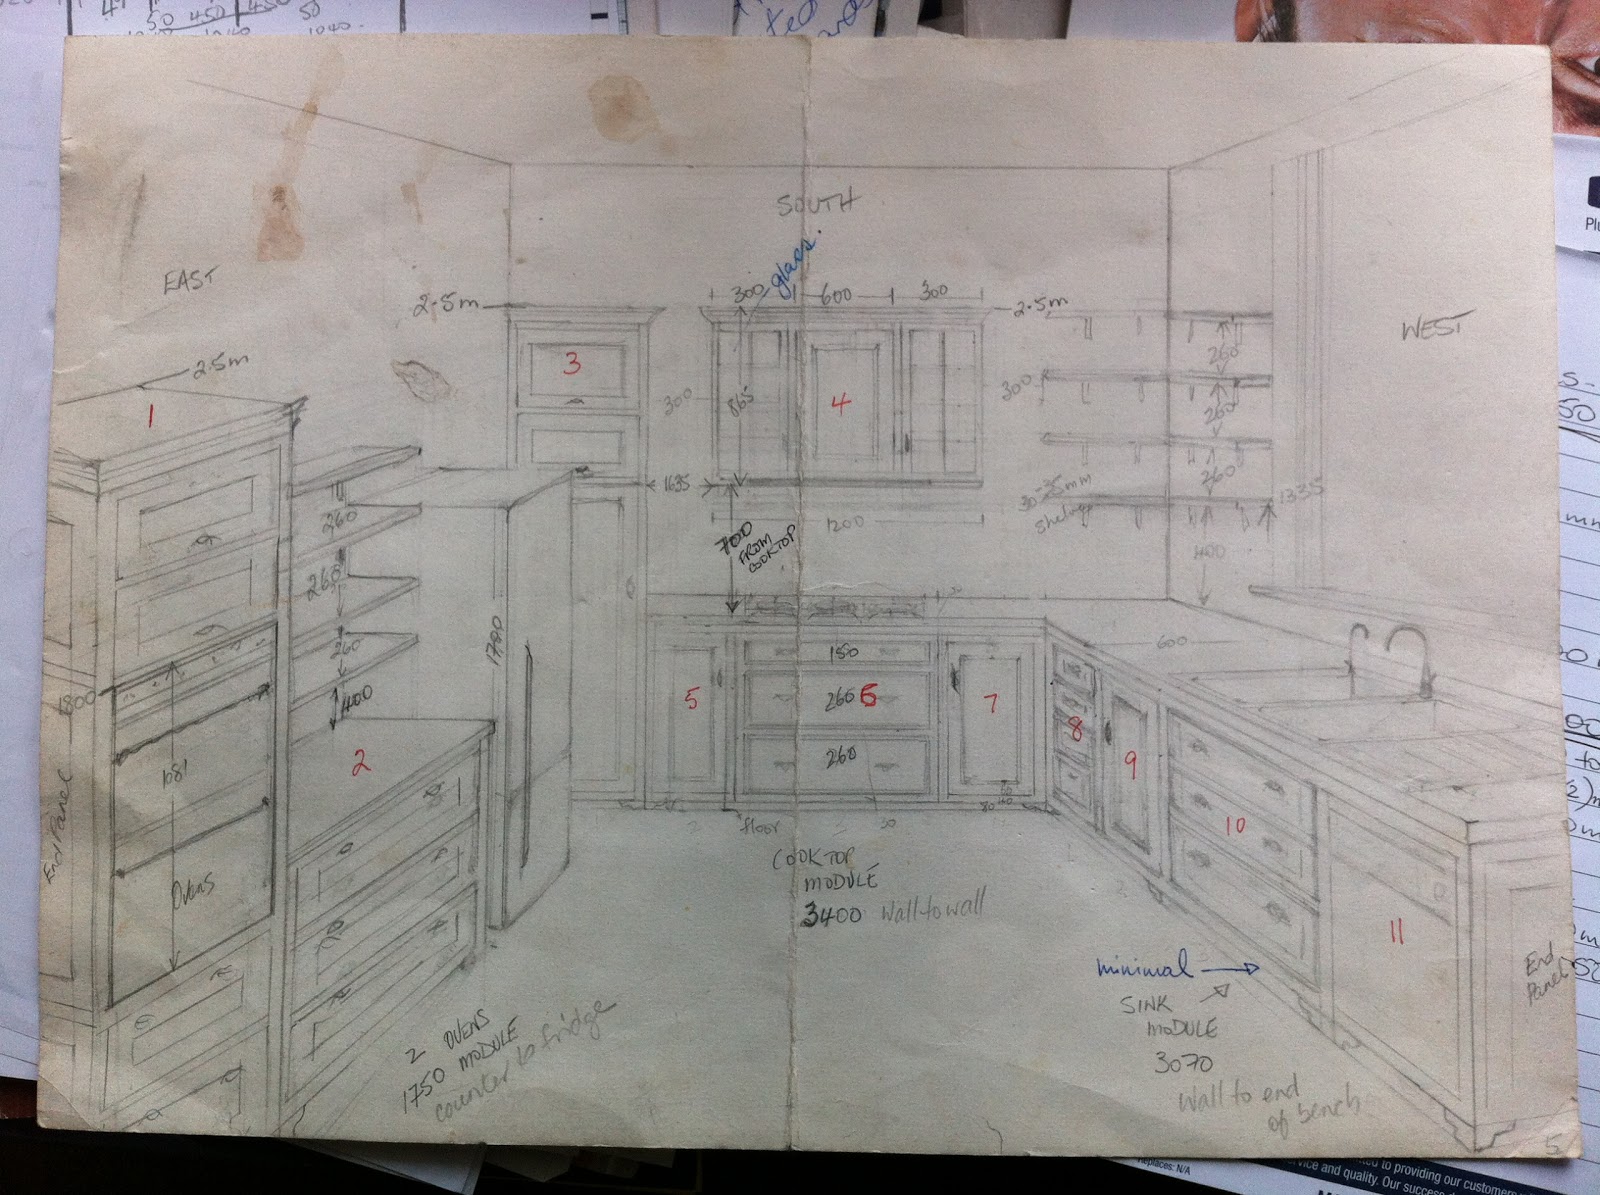 |
| The concept drawing of the kitchen. |
I did a scale drawing on a piece of plywood, showing the detail of the proposed cabinets' face frames. This would help me determine the methodology for constructing it. All drawer fronts and doors will be set into the frame, with the frame creating "borders" around them. The cabinets would be made up of a group of Modules, each with fancy feet on the bottom front corners. The face frame "border" would be 40mm wide, with a bead and quirk along each side - like you would get from an old wooden moulding plane. However, with the grain of a lot of WA Blackbutt being pretty wild, I opted to use a router cutter rather than my trusty 3/8" Bead Moulding plane - to maximise consistency and minimise tear-out.
 |
| Experimentation. 4 pieces loosely held together to obtain my customer's approval. |
With approval and confirmation of the face frame design concept, and the methodology worked out, it was time to commence building the kitchen.
 |
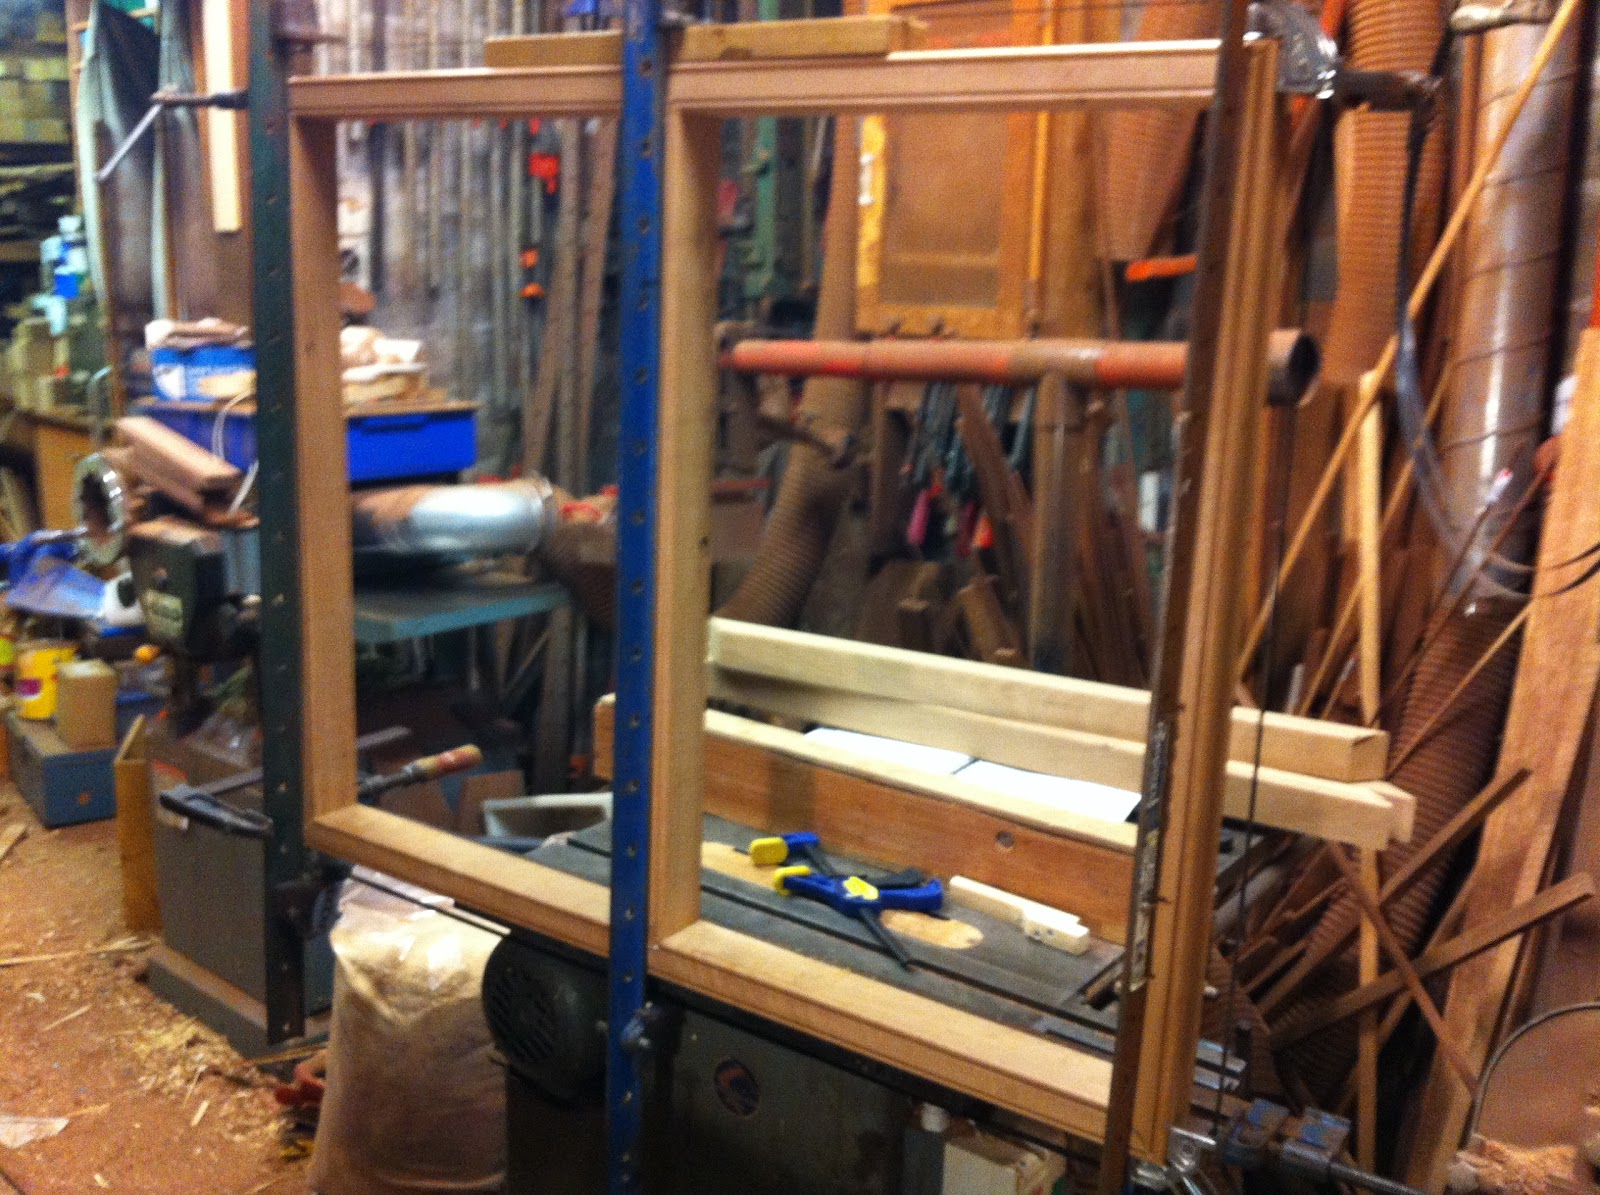
| A pile of vertical frame components and horizontals, machined up ready |
For much of the year I have been working on the renovation of this lovely Art Deco house in Wembley, Western Australia. It would be nice now to face a whole new set of challenges.
Making the Corner Mitres on the face frames.
Accurate mitring of the corners after the profiles had been run was gong to be tricky, due to the double quirks/beads. I would use a pair of 3/8" dowels in each joint, glued and then screwed vertically in relation to the frames orientation.
My trusty dowling machine, which I fabricated from a 1/3 HP washing machine motor, a pair of hinges off an ancient old industrial fridge, and a Paulcall chucked workhead, has served me well for over 28 years. It has a nifty low-tech rise and fall mechanism made repeatable by the use of a set packers. The use of additional specially made jigs always makes functions consistently accurate.
 |
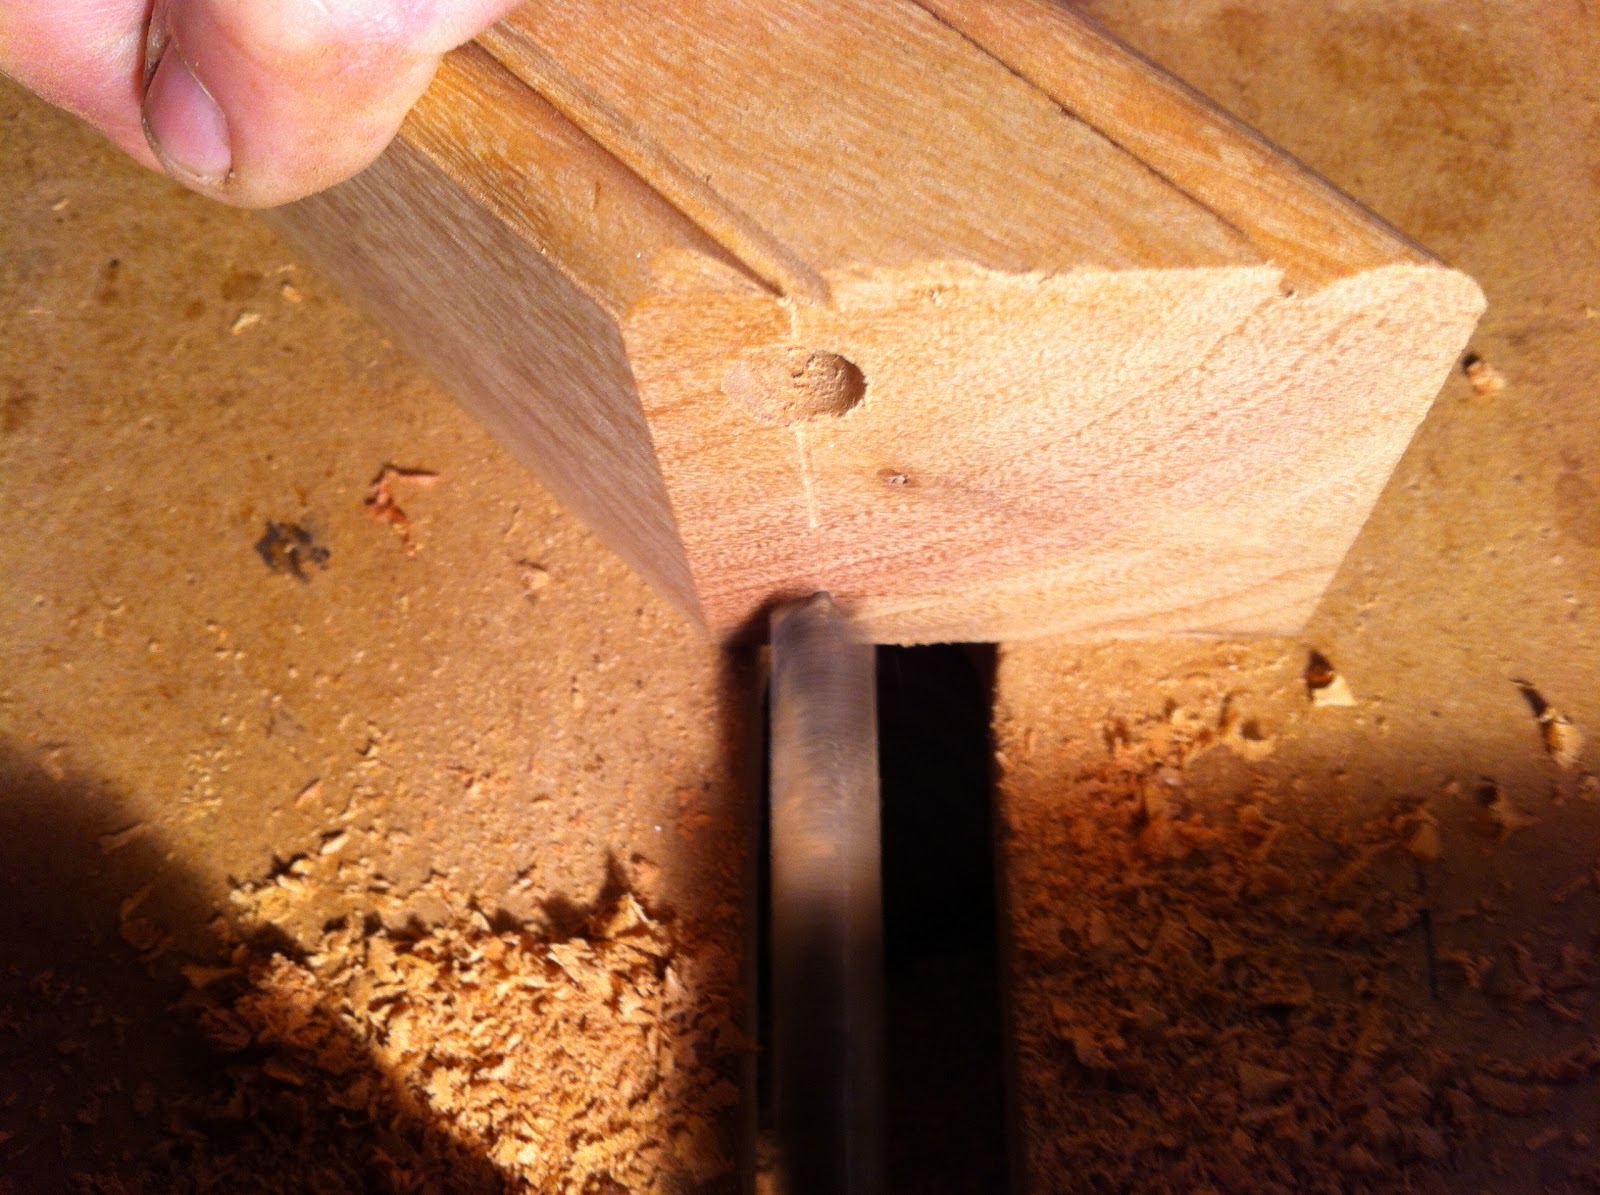
| This marking gauge was knocked up to reach over the edge of the mitre's short point. |
 |
| The borer in action, about to bore the second dowel hole. The slot through which the bit emerges from below the benchtop also normally has the dust extractor connected, to remove most of the waste. Works a treat. |
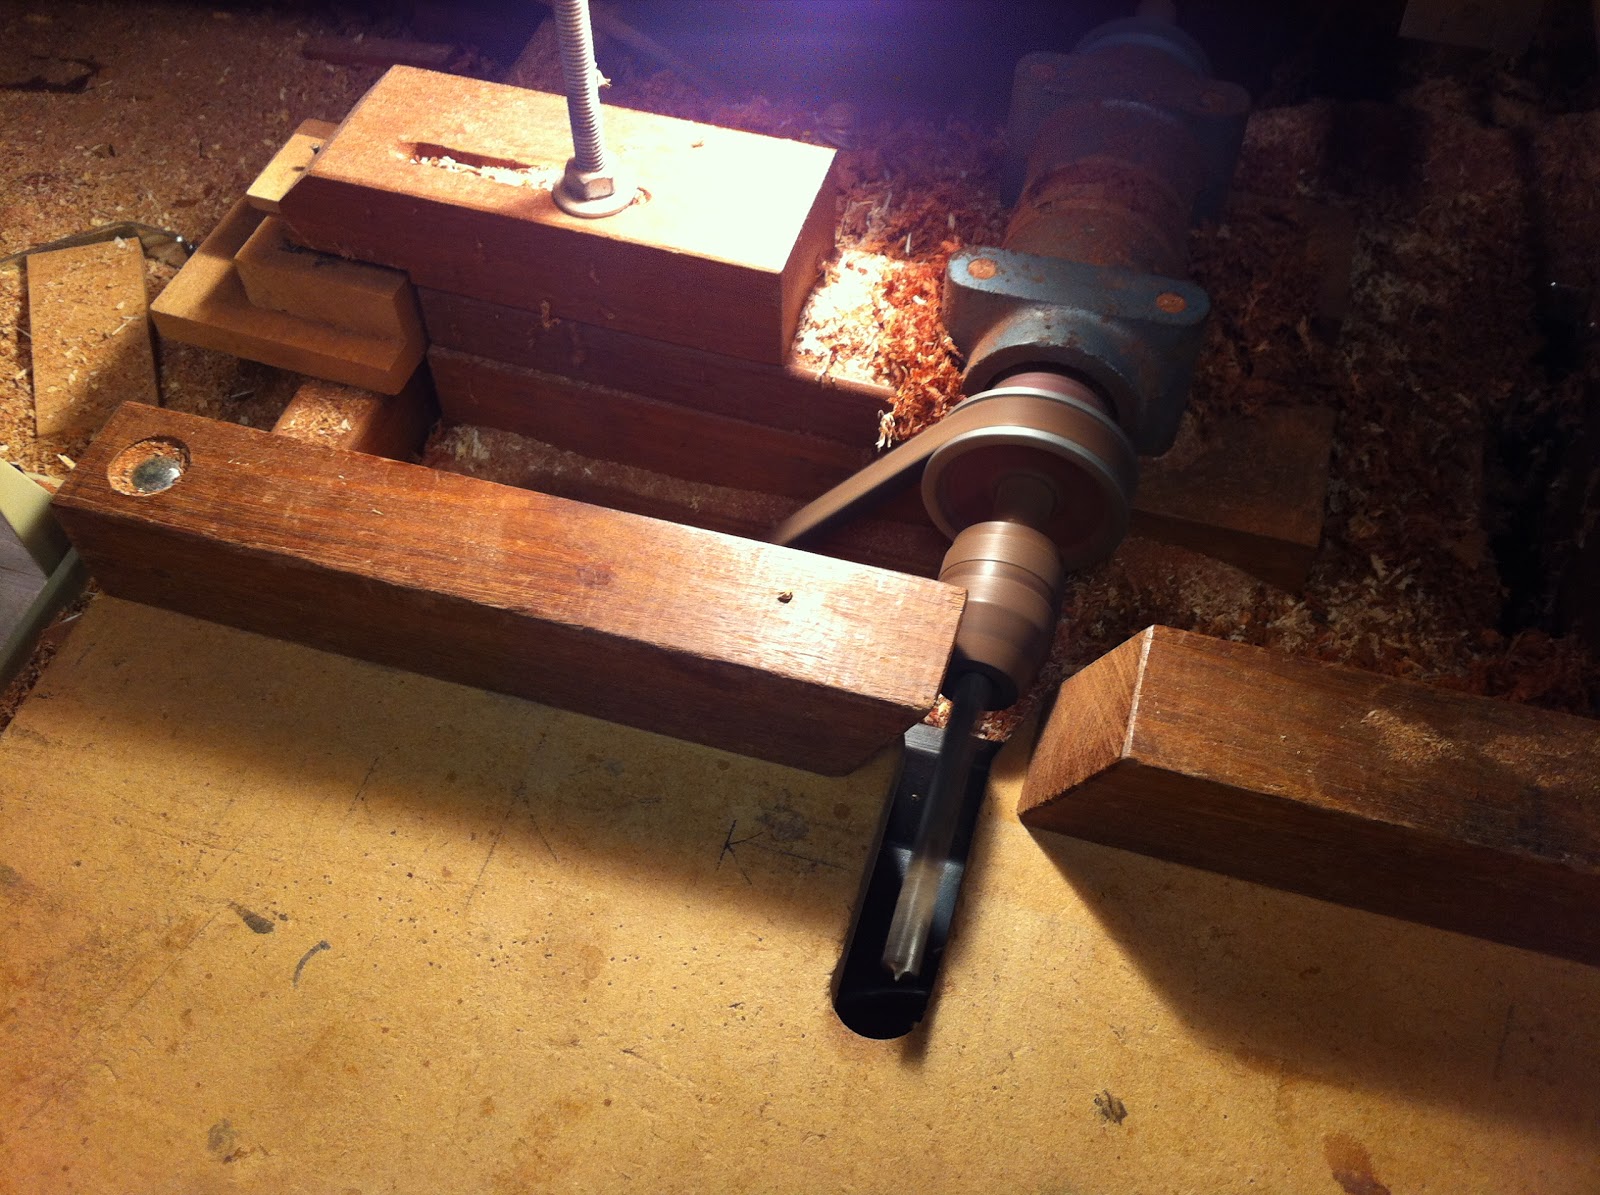 |
| That's the old beastie. She's bored a lot of dowel holes over the last 28 years. Removing the packer stack sees her retract below the docker bench. The dust extractor blast gate is below the bench under the slot. |
 |
| One of the face frames glued up. This one has the T joints as well, due to the centre mullion. |
Cleaning up the completed face frames.
All those beads and quirks were going to be tricky top clean up. So a special scraper was made to assist the job.
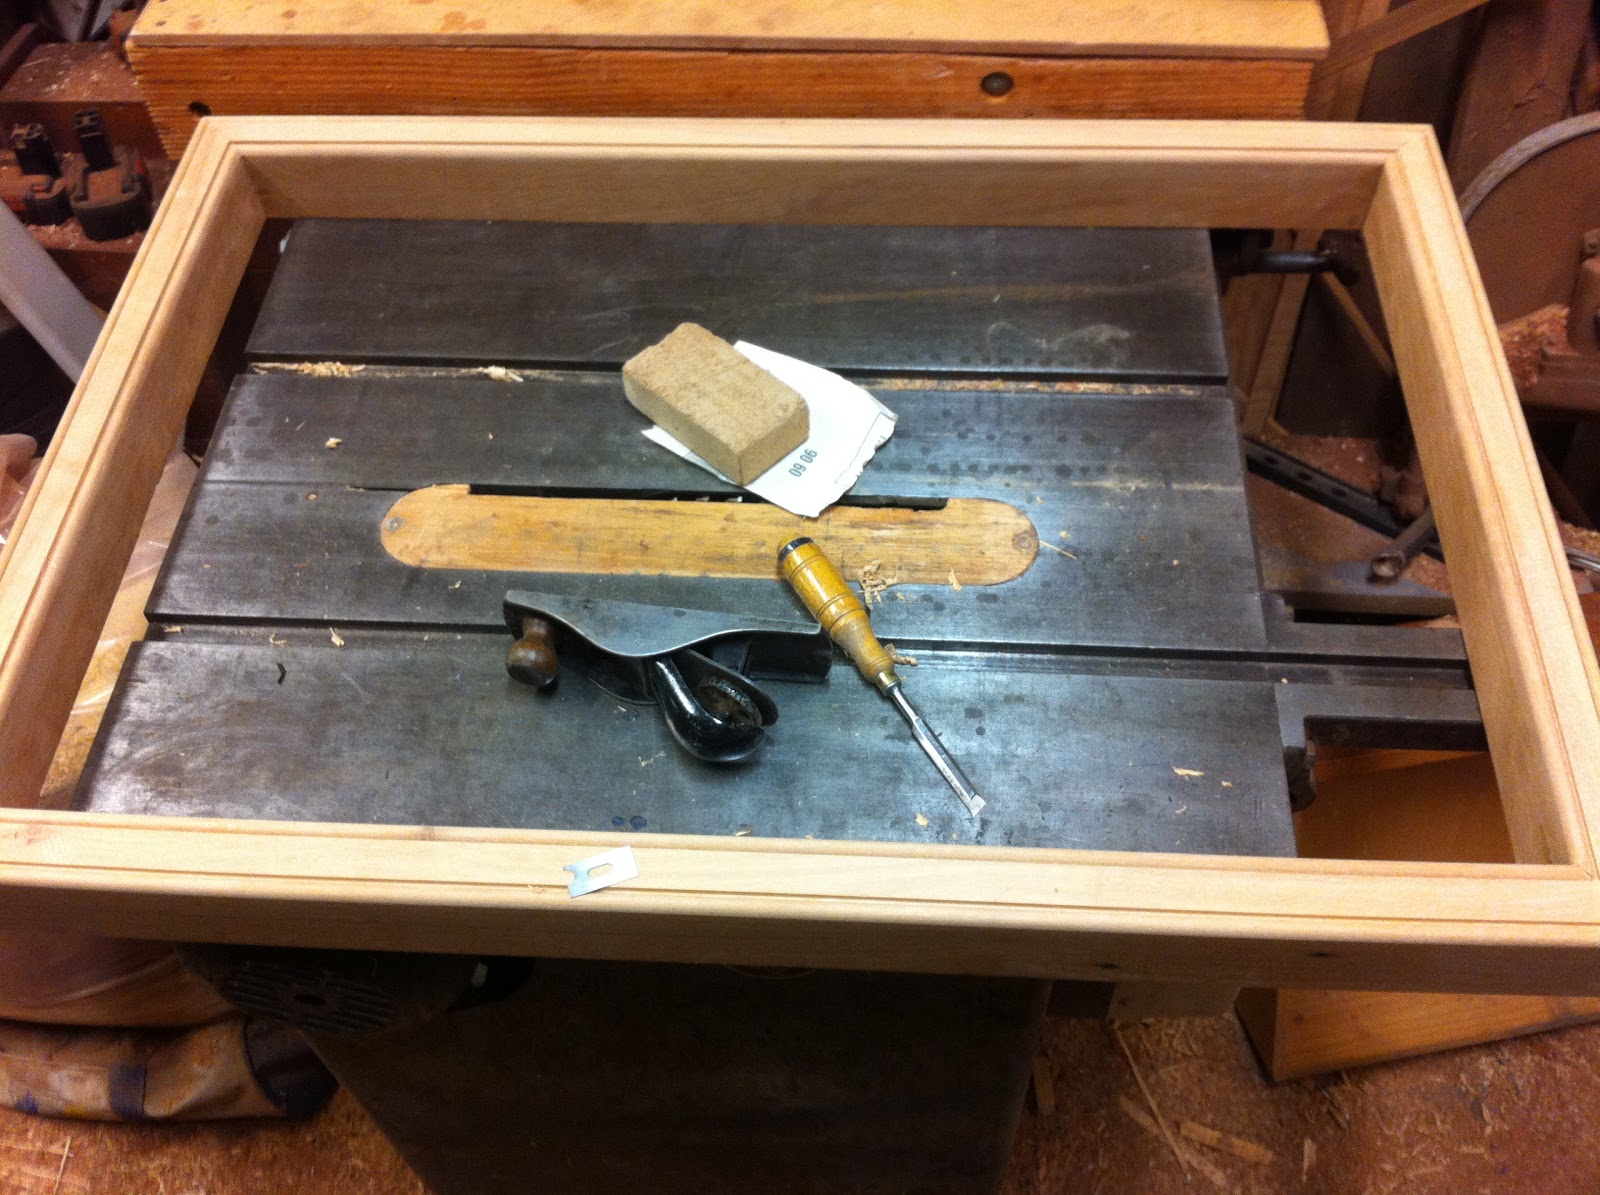 |
| Basic tools for cleaning up post glue-up. Plus the scraper. |
 |
A small scraper was ground from a blank into the correct radius curve and quirk size.
That's a Lee Valley beading tool blank that I've ground to profile. |
 |
| The little scraper in action. No point putting into either of the Lee Valley beading tools, as you can't get into the inside mitred corners with them. This way you can. |
Making the T-Joint on the face frames.
One of the face frames would have a mullion running vertically. Due to the beads, the joint would require a mitre through the bead on each side.
 |
| A rough attempt on the practice run. The system worked. |
 |
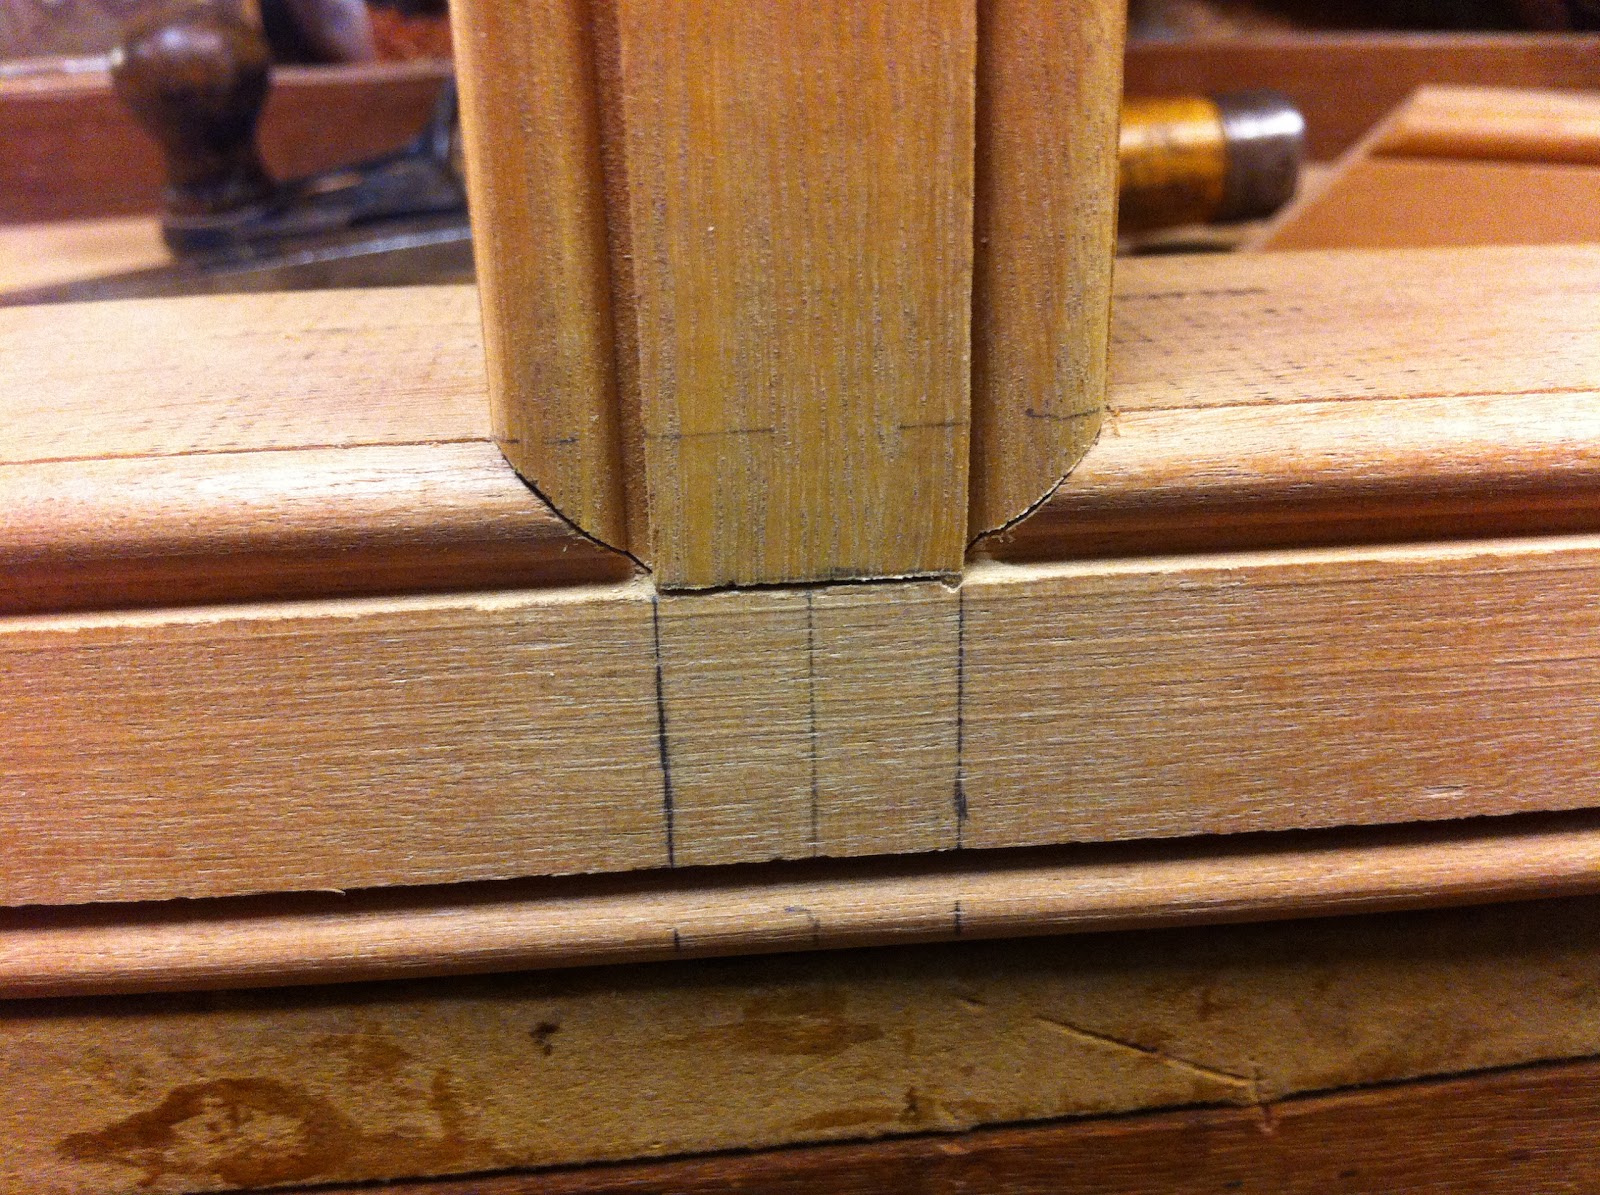
| Accurate marking out is everything. The centre waste here removed with the radial arm saw. |
 |
| Cutting is made easier with a 45 degree guide block, cramped accurately in the right position. |
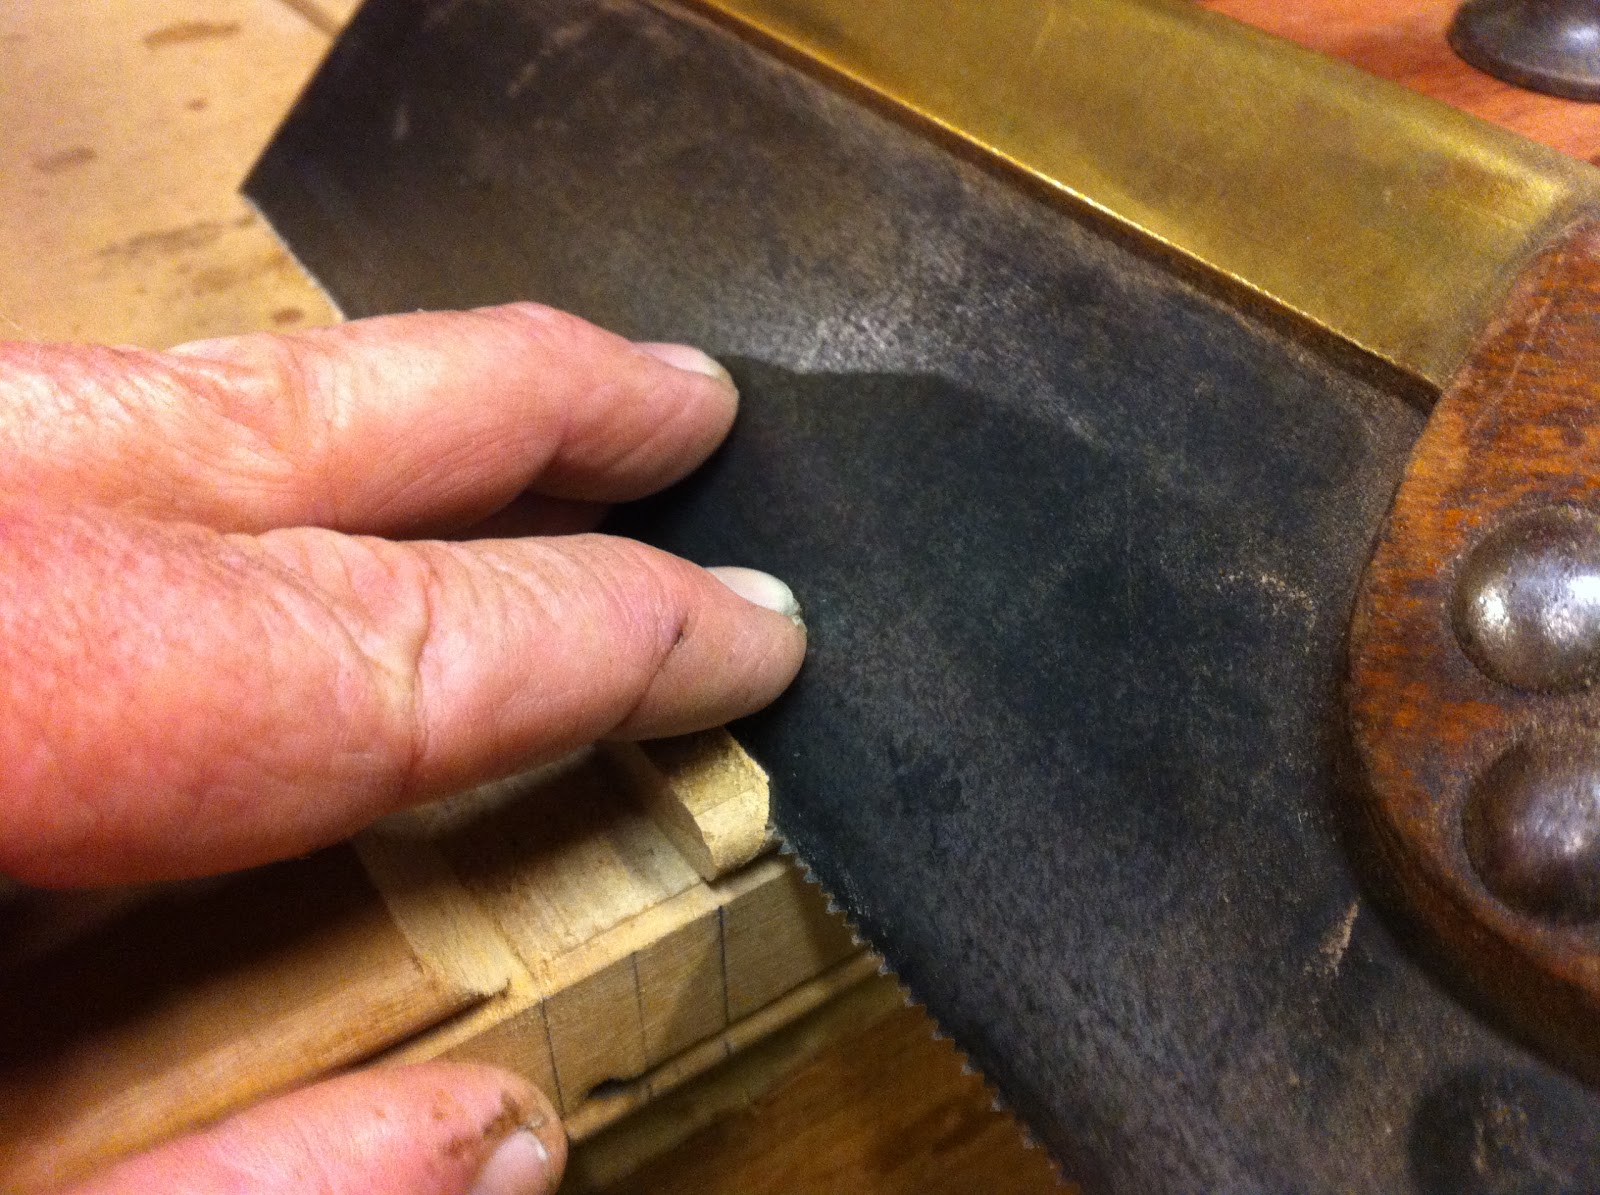 |
| The saw plate is held flat against the guide block, and sawn down to the quirk base line. |
 |
| Ditto on the other side. |
 |
| Trusty No71 router plane consistently paring out the centre trench to depth. |
 |
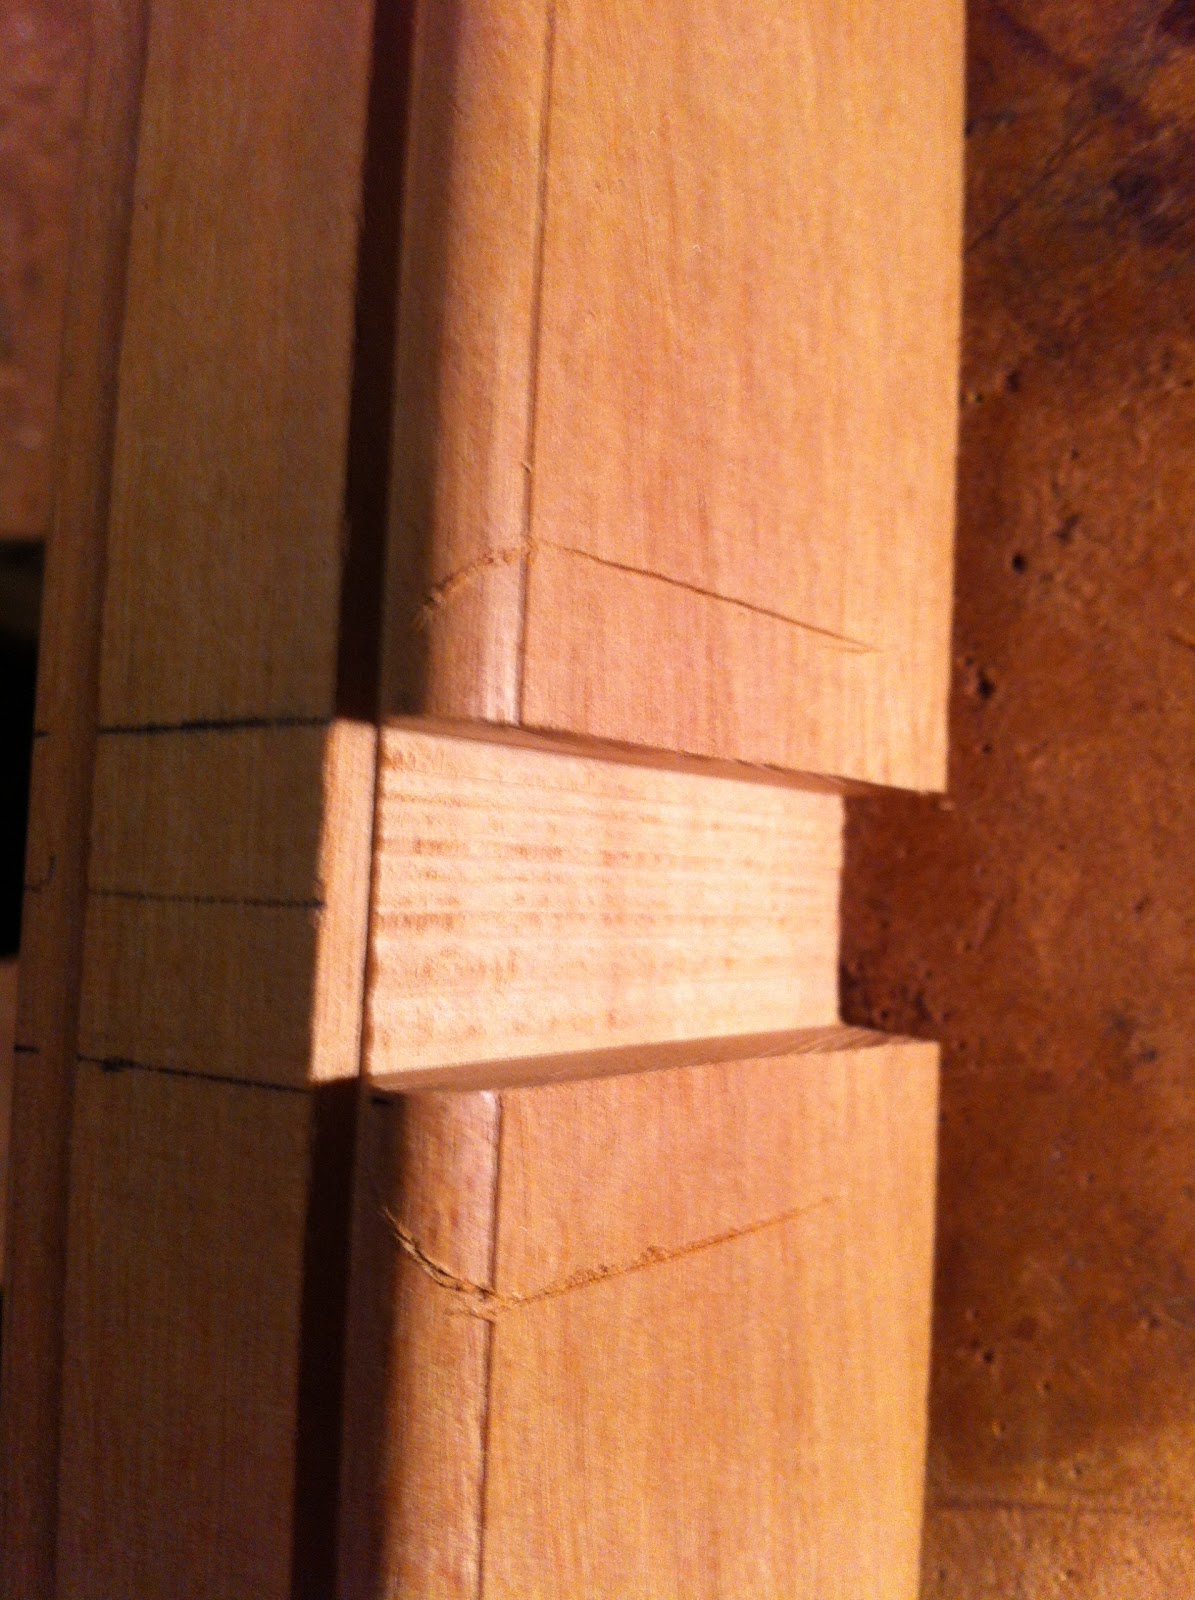
| That'll do nicely... |
Putting the cabinet sections together.
Often, I get so engrossed in what I am doing that I forget to take pictures. This part of the journey is a case in point.
 |
| Things are moving ahead well. Four of the sections in place on top of the toe rail. |
 |
| All six sections in place. Now for the benchtops. |
Next we would be making and fitting the benchtops. I had to get onto this and worry about most of the internal details of the cabinets later. We wanted to get the benchtops in and the plumbing and installations done for the dishwasher, sink, taps and gas cooktop all complete before I was to leave to go to the
Woodworking in America conference in Cincinnati.
Yep, we made the deadline with about a week to spare... On my return we will continue the journey.
I am writing this post from my hotel in Cincinnati. the Conference starts tomorrow!
.jpg)